Reasons for Oil Leaks in CNC Machining Centers
Oil leaks in CNC machines are a common headache for many operators. Not only do they create messes on the shop floor, but they can also silently affect machining accuracy and increase the risk of equipment failure. The good news is that oil leak problems can be effectively solved if you identify the right cause.
Common causes of oil leaks in CNC machining centers include aging seals, aging pipes or loose fittings, excessive system pressure, and operational oversight. Environmental temperature changes, oil type substitutions, and major equipment overhauls can also exacerbate oil leakage issues.
Today, let's explore the reasons for oil leaks in CNC machines and help you easily tackle this common problem.
I. Common Causes of Oil Leaks in CNC Machining Centers
Any problem in the oil system of a CNC machine could lead to leakage. Let's begin with the most common issues:
1. Aging Seals
Seals are the first line of defense against oil leaks:
Wear and Tear: Over time, seals made from rubber or similar materials will harden and crack due to prolonged exposure to high temperatures and oil immersion, losing their elasticity and becoming ineffective.
Improper Installation: If seals are not installed properly—misaligned, scratched by sharp edges, or contaminated with dust or small particles—they will wear out faster and result in leaks.
Wrong Seal Material: Different parts of the machine require different seal materials. For example, using standard rubber seals in high-temperature areas will quickly lead to failure.
2. Pipe System Issues
The pipes that connect various components also frequently contribute to oil leaks:
Aging Pipes: Plastic or rubber pipes can become brittle and crack after prolonged use. Vibration from the machine can exacerbate this issue.
Loose Fittings: Continuous vibration during operation can cause pipe fittings to loosen, creating gaps and leading to leaks.
Excessive Bending: Pipes that are bent too much during installation will not only affect the flow of oil but may also cause seals to fail at the joints.
3. Pressure and Oil Tank Problems
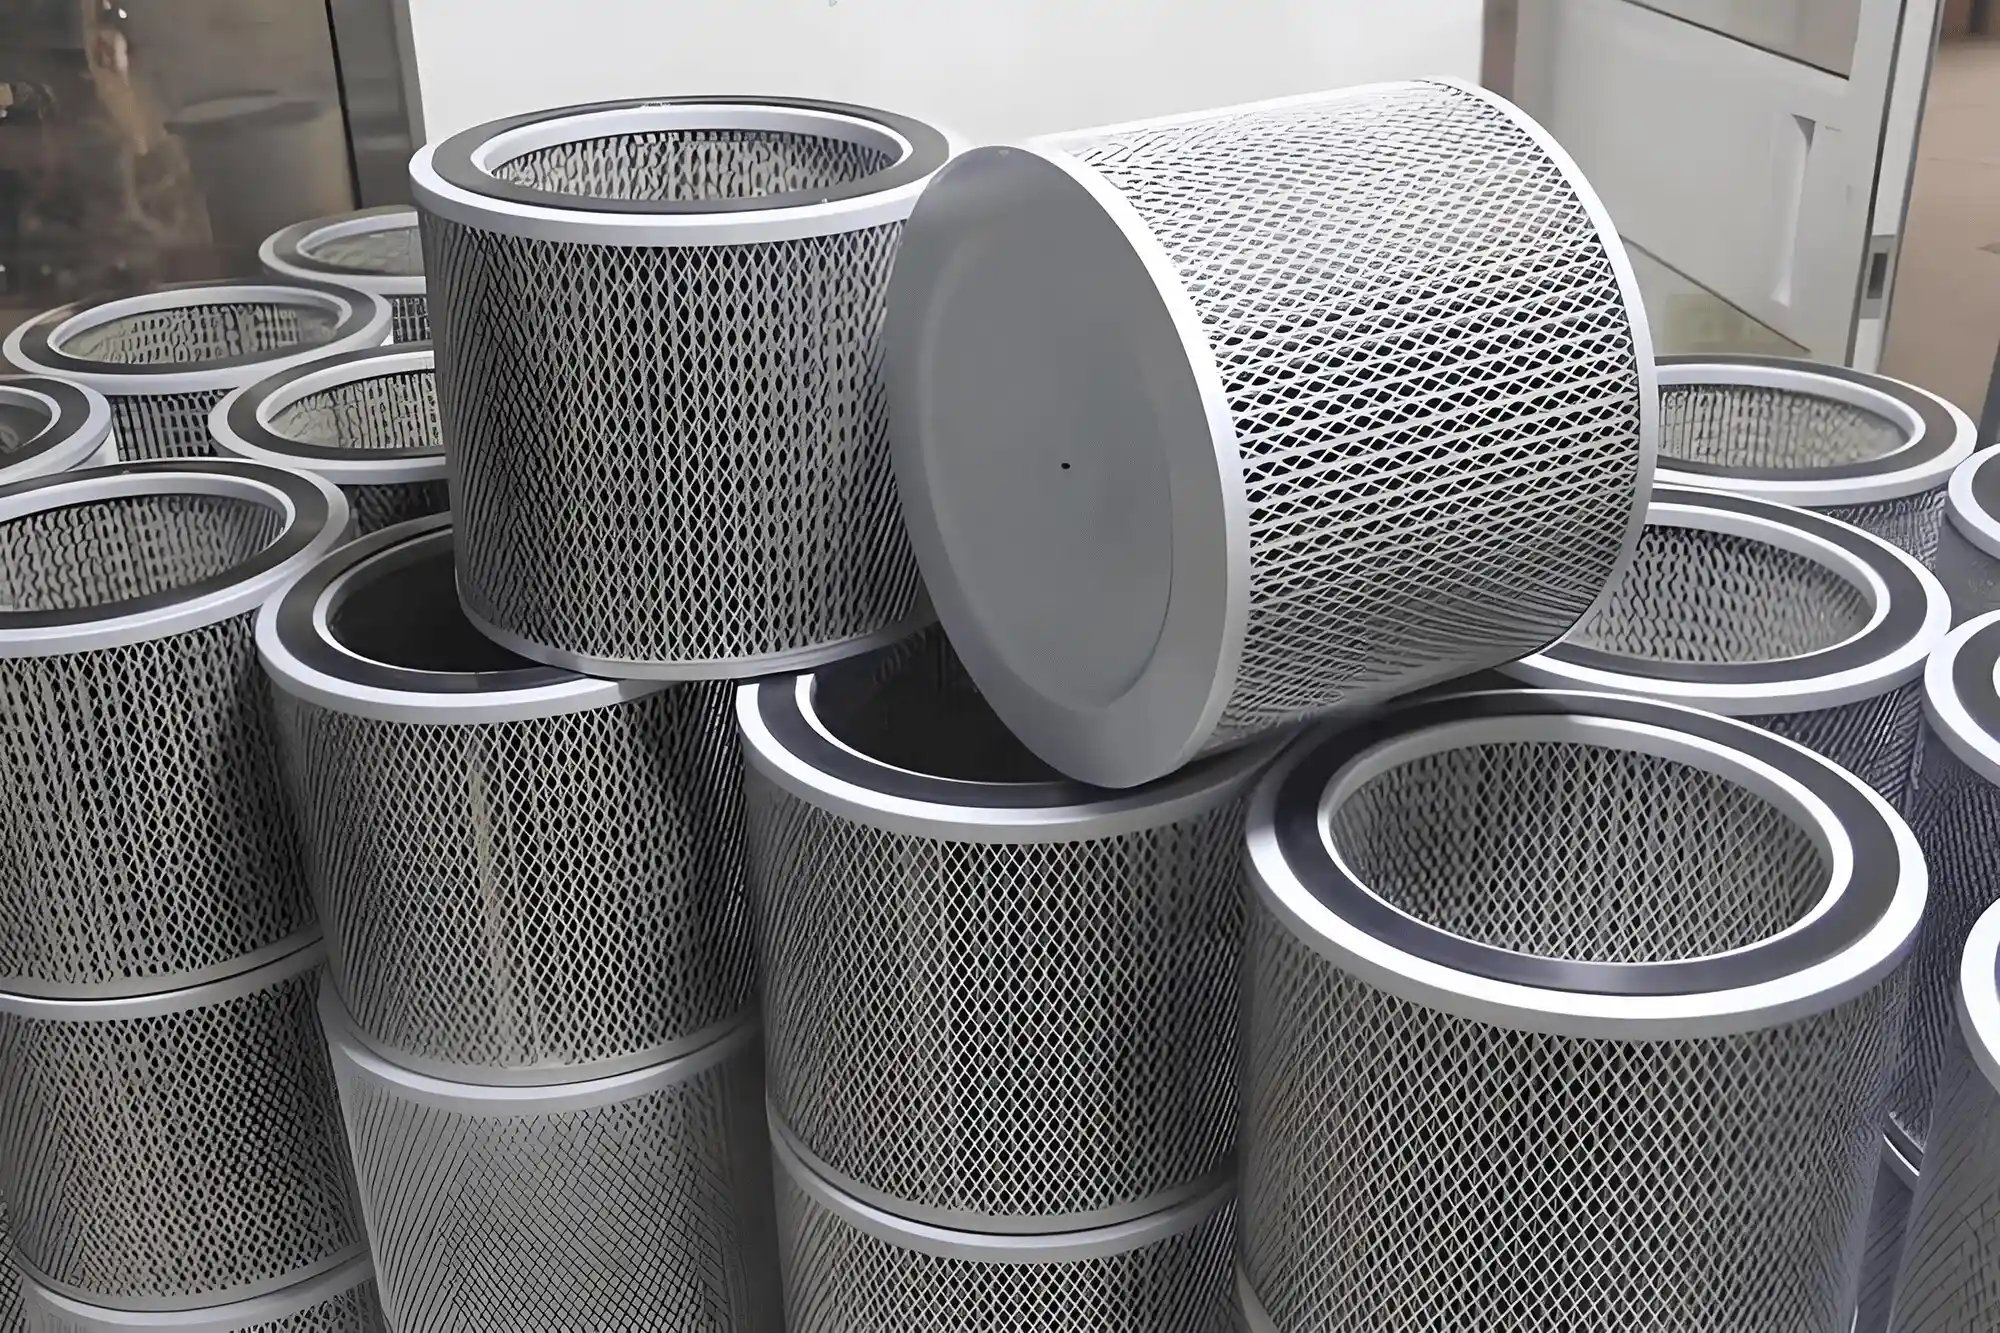
(oil mist collector filter cartridge)
System pressure and oil tank conditions can also hide potential leak hazards:
Excessive Pressure: If system pressure exceeds the capacity of seals, it can cause leaks, much like excessive water pressure in a pipe.
Overfilled Oil Tank: If too much oil is added and the oil level exceeds the recommended limit, the liquid may spill out as the equipment operates.
Clogged Filters: A clogged suction filter can create abnormal pressure in the oil system, indirectly causing oil to leak.
4. Oversights in Daily Operations
Many oil leaks actually stem from small oversights during routine maintenance:
Improper Handling of Parts: When parts are installed or replaced, scratches on the sealing surfaces—often invisible at first—can gradually lead to leaks.
Delayed Maintenance: When seals that should have been replaced are left in place too long, they can crack, leading to leakage.
Harsh Environment: A workshop with a lot of dust, high temperatures, or humidity can accelerate the aging of seals and pipes.
II. Three Steps to Identify the Cause of Oil Leaks
Don't panic when you notice an oil leak. By following these three steps, you can quickly pinpoint the source of the issue:
Inspect the Location: Look closely at where the oil is leaking from—whether it's near the shaft seal, a pipe joint, or the bottom of the oil tank. Different locations often indicate different causes.
Check the Condition:
Feel the seals to see if they have become hard or cracked; inspect the pipes for deformation, and check if any fittings are loose. Measure the system's pressure to ensure it's within the normal range.
Consider Operational Factors: Have there been any recent oil changes? Was the equipment recently overhauled? Has the temperature in the workshop increased suddenly? These details can help you narrow down the search.
Leak Location | Common Cause | Quick Check Method |
Shaft Seal Area | Aging or Worn Seals | Check for cracks or hardness in seals |
Pipe Fittings | Loose or Damaged Seals | Use a wrench to check fitting tightness and inspect the seal |
Bottom of Oil Tank | Damaged Tank or Overfilled | Check the oil level and inspect for any deformation in the tank |
Valve Area | High Pressure or Worn Valve | Measure system pressure and check valve operation |
III. How to Deal with Oil Leaks in CNC Machining Centers
Once you've identified the cause of the leak, the following solutions can help you quickly fix the issue:
Addressing Seal Problems
Regularly Replace Seals: Especially in high-temperature or high-load areas, it's advisable to replace seals before they show signs of aging, as indicated in the equipment manual.
Clean the Installation Area: Before installing new seals, clean the installation grooves and apply a small amount of lubricating oil to facilitate installation and avoid scratching.
Choose the Right Seal Material: Use fluororubber seals in high-temperature areas and polyurethane seals in high-pressure zones.
Addressing Pipe Issues
Replace Aging Pipes: If you find any pipes that are becoming brittle, replace them with high-pressure, temperature-resistant pipes from the manufacturer.
Tighten Fittings, But Don't Overtighten: Regularly tighten the pipe fittings but avoid overtightening to prevent damaging the threads.
Prevent Excessive Bending: When laying out pipes, avoid excessive bending. If necessary, install support brackets to reduce vibration.
Managing System Pressure and Oil Tank
Monitor System Pressure: Check the system pressure every week to ensure it stays within the specified range. Adjust the pressure if it’s abnormal.
Control Oil Levels: Always ensure the oil level doesn’t exceed the upper limit indicated on the oil level gauge.
Clean the Oil Filter Monthly: To prevent blockage that could cause abnormal pressure and leaks, clean the suction filter at least once a month.
IV. Preventing Oil Leaks Through Regular Maintenance
Many oil leaks can actually be prevented with proper maintenance:
Create a Maintenance Checklist: Inspect seals, pipes, and system pressure weekly to catch potential issues early.
Keep the Equipment Clean: Reducing dust and dirt in the workshop will minimize wear on seals and pipes.
Control the Workshop Environment: Managing the temperature and humidity levels in the workshop can slow down the aging process of parts.
Thoroughly Clean the Oil Tank: When changing the oil, clean the oil tank thoroughly to prevent mixing old and new oils or contaminating the system with foreign particles.
Conclusion
While oil leaks are common, mastering these troubleshooting and solution methods can keep your CNC machining center in excellent condition. Don’t panic when a leak occurs—follow the steps outlined above to quickly solve the problem! If you're still unable to resolve the issue, don't hesitate to seek help from professionals, or feel free to contact us at Minnuo. As a machine tool manufacturer offering solutions, we are here to provide you with expert guidance!
 Email
Email sales1: +86 13295238763