How to Level a CNC Lathe?
A CNC lathe may have perfectly set parameters, yet the machined parts still lack a bit of precision. You might never have considered that the culprit could be the lathe’s level condition. If leveling is neglected over time, it can not only cause a sharp drop in product qualification rate but also silently accelerate guideway wear, shorten the machine’s lifespan, and, when faults eventually occur, significantly increase time costs.
Leveling affects the outcome at every stage — from determining whether leveling is needed, preparing the right tools, making step-by-step precise adjustments, to carrying out follow-up maintenance.
Let’s take a detailed look at CNC lathe leveling — from its necessity to the exact procedures — to help you address related issues step by step.
I.Is It Necessary to Level the Lathe?
Some may ask, “Is it really a problem if the lathe isn’t leveled?” The answer is yes. CNC lathes are highly precise machines, and the fit accuracy between components is extremely demanding. If the lathe is not level, a series of issues will follow.
From a machining accuracy perspective: An uneven lathe will cause slight deviations in the relative position between the tool and the workpiece, resulting in out-of-tolerance dimensions. In high-precision machining, these deviations are amplified.
From an equipment lifespan perspective: Long-term operation out of level causes uneven loading on guideways,bearings, and other parts, accelerating wear, increasing the risk of failure, and raising maintenance costs.
Situations where leveling is a must:
Initial installation – leveling is the foundation for normal operation.
After relocation – the original level condition is disrupted.
During periodic maintenance – the level should be checked and adjusted promptly.
II.Tools and Equipment for Leveling

Once you understand the importance of leveling, here are the essential tools for the process:
Tool | Function |
Precision level | Measures the lathe’s level; higher accuracy means more reliable results |
Feeler gauge | Helps judge the gap size when tilt is indicated by the level |
Wrench set | Adjusts the leveling screws or shims at the base of the lathe |
Spirit level | Provides a preliminary check of overall level condition as an auxiliary tool |
Tip: Prioritize high-quality tools. For example, a precision level with an accuracy of 0.02 mm/m or better is recommended to meet CNC lathe leveling requirements. Poor-quality tools can cause measurement errors, affecting the final leveling outcome.
III.Preparations Before Leveling
Before the actual leveling, good preparation ensures smoother operation:
Clean the lathe and mounting surface – remove oil stains, dust, and debris from the bed, floor, or worktable to avoid affecting accuracy.
Inspect lathe components – check for looseness at joints and tighten as needed; repair or replace any damaged parts before leveling.
Ensure a stable, flat mounting surface – use a spirit level for an initial check; correct any obvious unevenness before proceeding.
IV.Step-by-Step CNC Lathe Leveling Guide

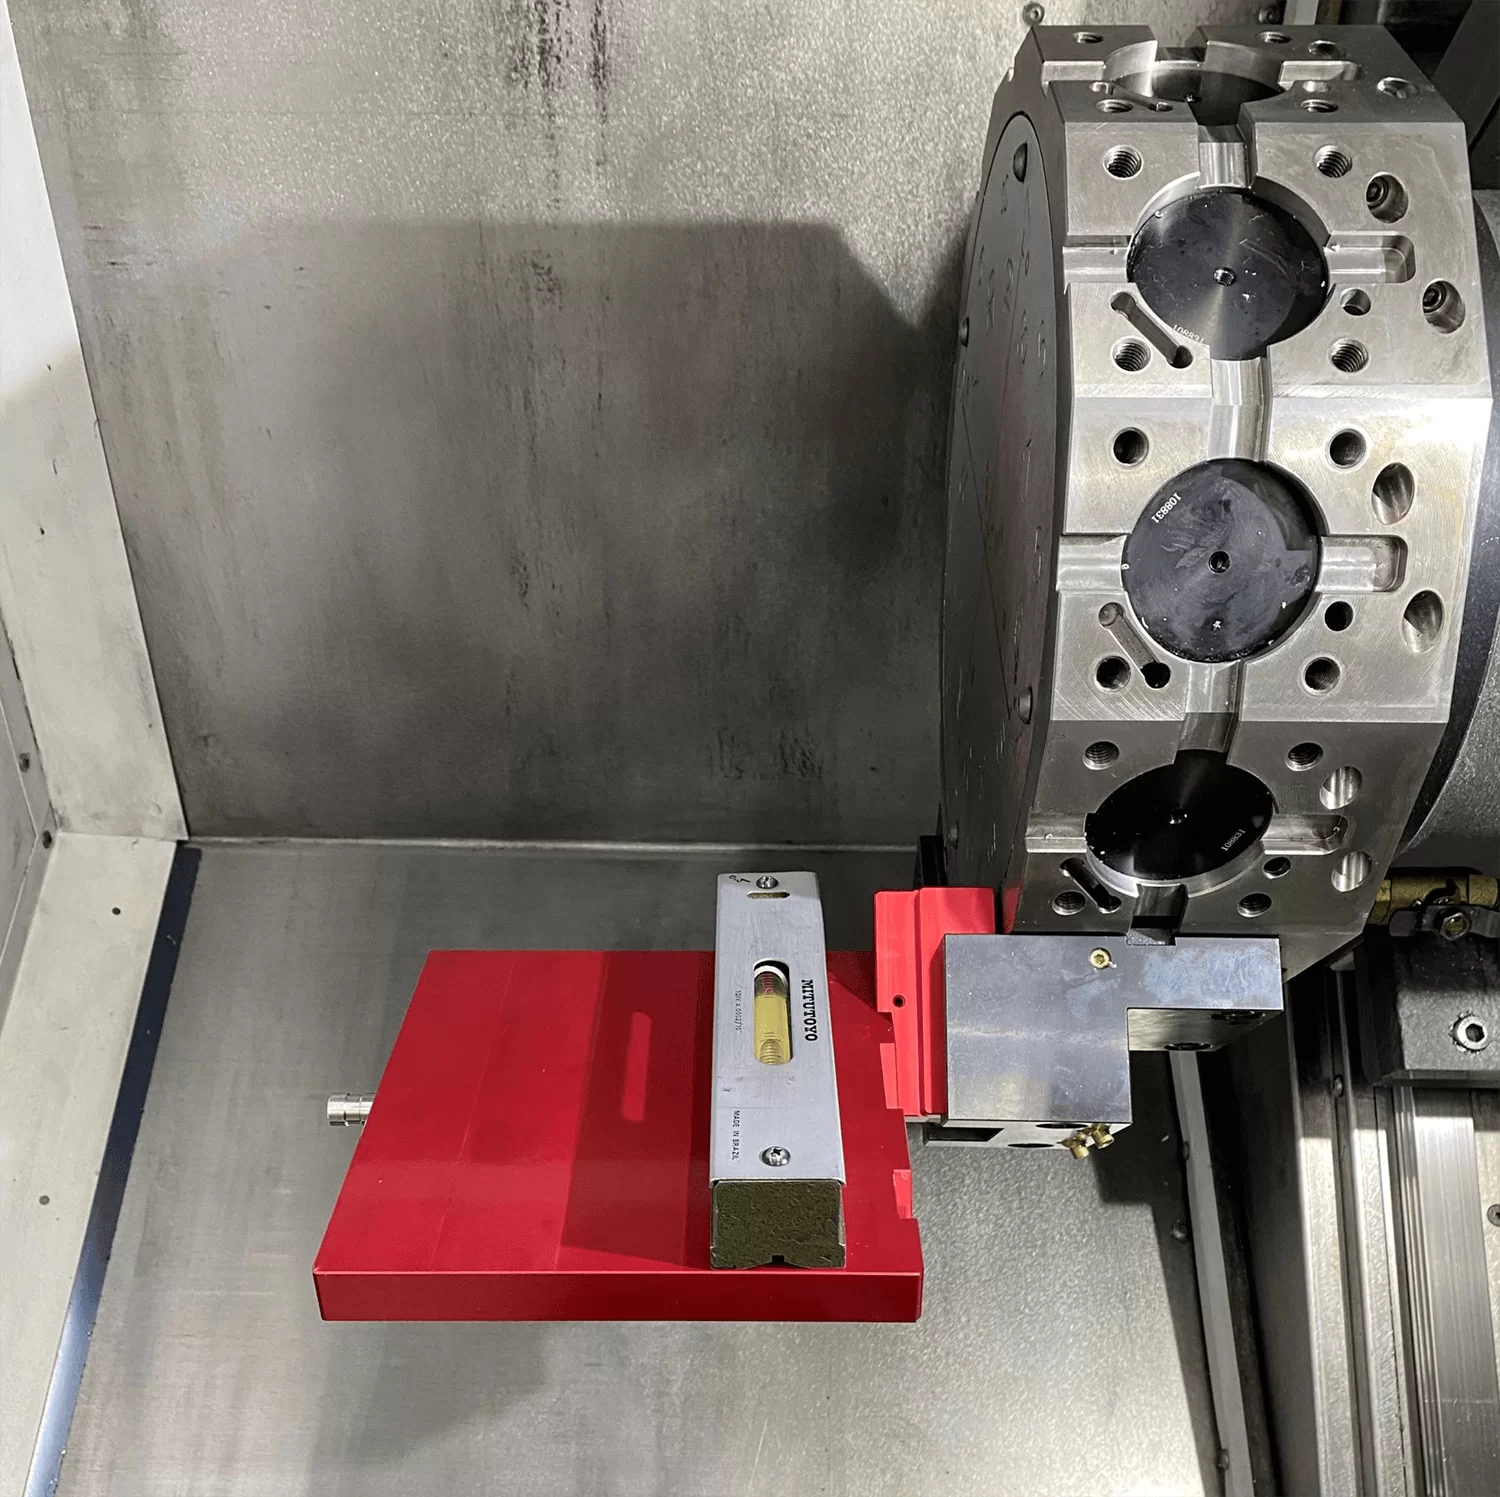
Place the precision level on the main guideway surface of the lathe bed. Make sure it sits firmly and is in close contact with the bed.
Wait for the bubble to stabilize, then record the initial reading. This will help you identify the direction and magnitude of tilt.
Locate the leveling screws or shims at the base. Use a wrench to adjust them:
If one end is too high, loosen that end’s screw or lower the shim.
If one end is too low, tighten the screw or raise the shim.
Recheck the reading by placing the level back in the same spot. Compare with the initial reading to see if the target has been met. Repeat fine adjustments until within the required tolerance.
Check both longitudinal and transverse directions to ensure the lathe is level in all orientations.
V.Post-Leveling Checks
After leveling, don’t rush into production — run these checks first:
Trial cut – machine a simple test piece and measure its dimensions. If the accuracy meets tolerance, the leveling is likely correct. If not, review the steps to identify errors.
Operational test – run the lathe and listen for unusual vibrations or noises. A properly leveled lathe should operate smoothly and quietly. Abnormal sounds may indicate uneven loading due to poor leveling.
Record all data – keep detailed notes of level readings, adjustment points, and changes made. This helps with future maintenance and re-leveling.
VI.Maintenance and Re-Leveling Schedule
Leveling is not a one-time task — it requires regular inspection and maintenance.
Check level at least once a month to catch and correct issues early.
Watch for factors that can affect level:
Temperature changes can cause lathe components to expand and contract due to thermal expansion and contraction.
Long-term heavy use loosening leveling parts.
Foundation settling affecting the base plane.
If machining accuracy suddenly drops or unusual running behavior appears between scheduled checks, inspect the level immediately and adjust as needed.
VII.Common Leveling Problems and Solutions
Leveling screw jamming – if a screw is stuck, do not force it. Apply a small amount of lubricant, wait, then try again. If still stuck, replace the screw.
Inconsistent readings – large differences in repeated measurements may be due to unstable placement of the level or a slightly moving mounting surface. Secure the level and check the surface stability before re-measuring.
Uneven mounting surface – use hard, non-deforming shims under the base to correct for surface irregularities and maintain stability.
Conclusion
By following the above steps and methods, you should now have a thorough understanding of CNC lathe leveling. Proper leveling not only improves machining accuracy but also extends the machine’s lifespan. If you still have questions about leveling or if your lathe continues to have accuracy issues, feel free to visit our Minnuo website for professional and free technical advice.

 Email
Email sales1: +86 13295238763